How to configure Robotium with Android Studio
UPDATE: The last update on Robotium was on 2016. As such we cannot recommend you to use Robotium for your apps. We can however recommend you to check our series of articles about Android App Testing, to read about alternatives.
For testing Caderno, I picked the Robotium test framework.
But when setting up a test folder, I couldn't get the gradle configuration straight. The official documentation is confusing and everyone suggests their own custom configuration.
Eventually I found that Android Studio just needs the right folder, and it will do everything automatically. No need to change sourceSets or even touch the gradle files.
Creating a new project in Android Studio already comes with the correct test folder. It's an androidTest folder inside the app src folder, where you repeat your package tree, like this:
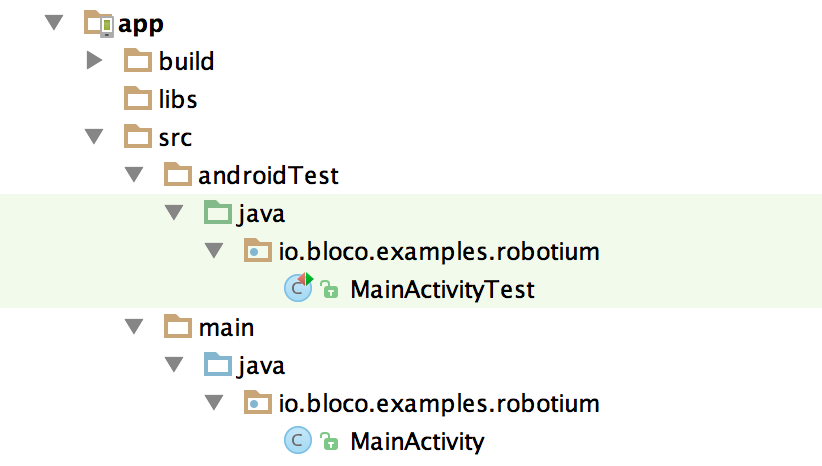
Android Studio marks the test folders in green. Some developers prefer tests to be inside an inner package, like io.bloco.example.robotium.tests. It works as well.
Now, we just have to configure Robotium:
- Add the dependency on your build.gradle
androidTestCompile 'com.jayway.android.robotium:robotium-solo:5.3.1' - Sync gradle
- Write a
MainActivityTestclass inside your test folder. An activity test example. - Add a new Run Configuration for Android Tests and pick the
appmodule - Run it on a device or emulator.
All tests should be passing:

Here's a Robotium example project I made, configured for Android Studio.